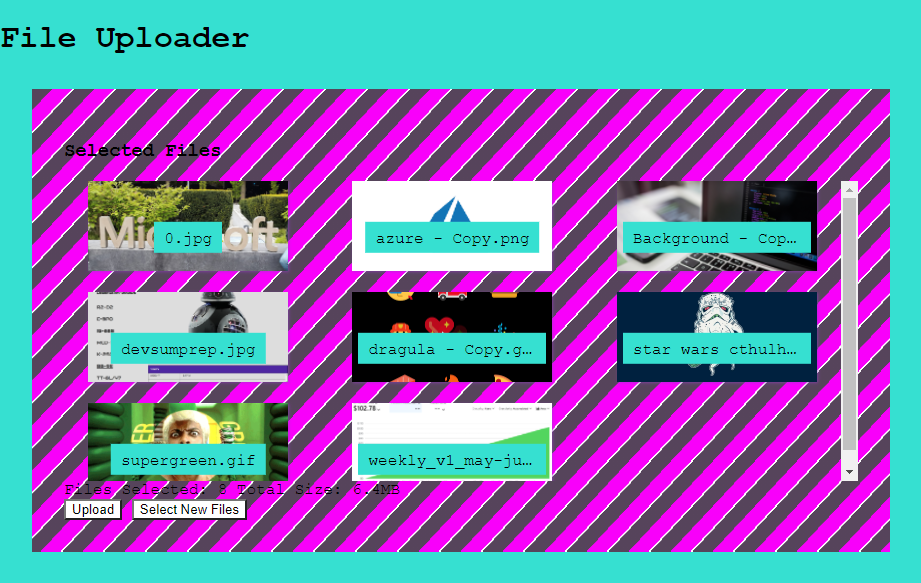
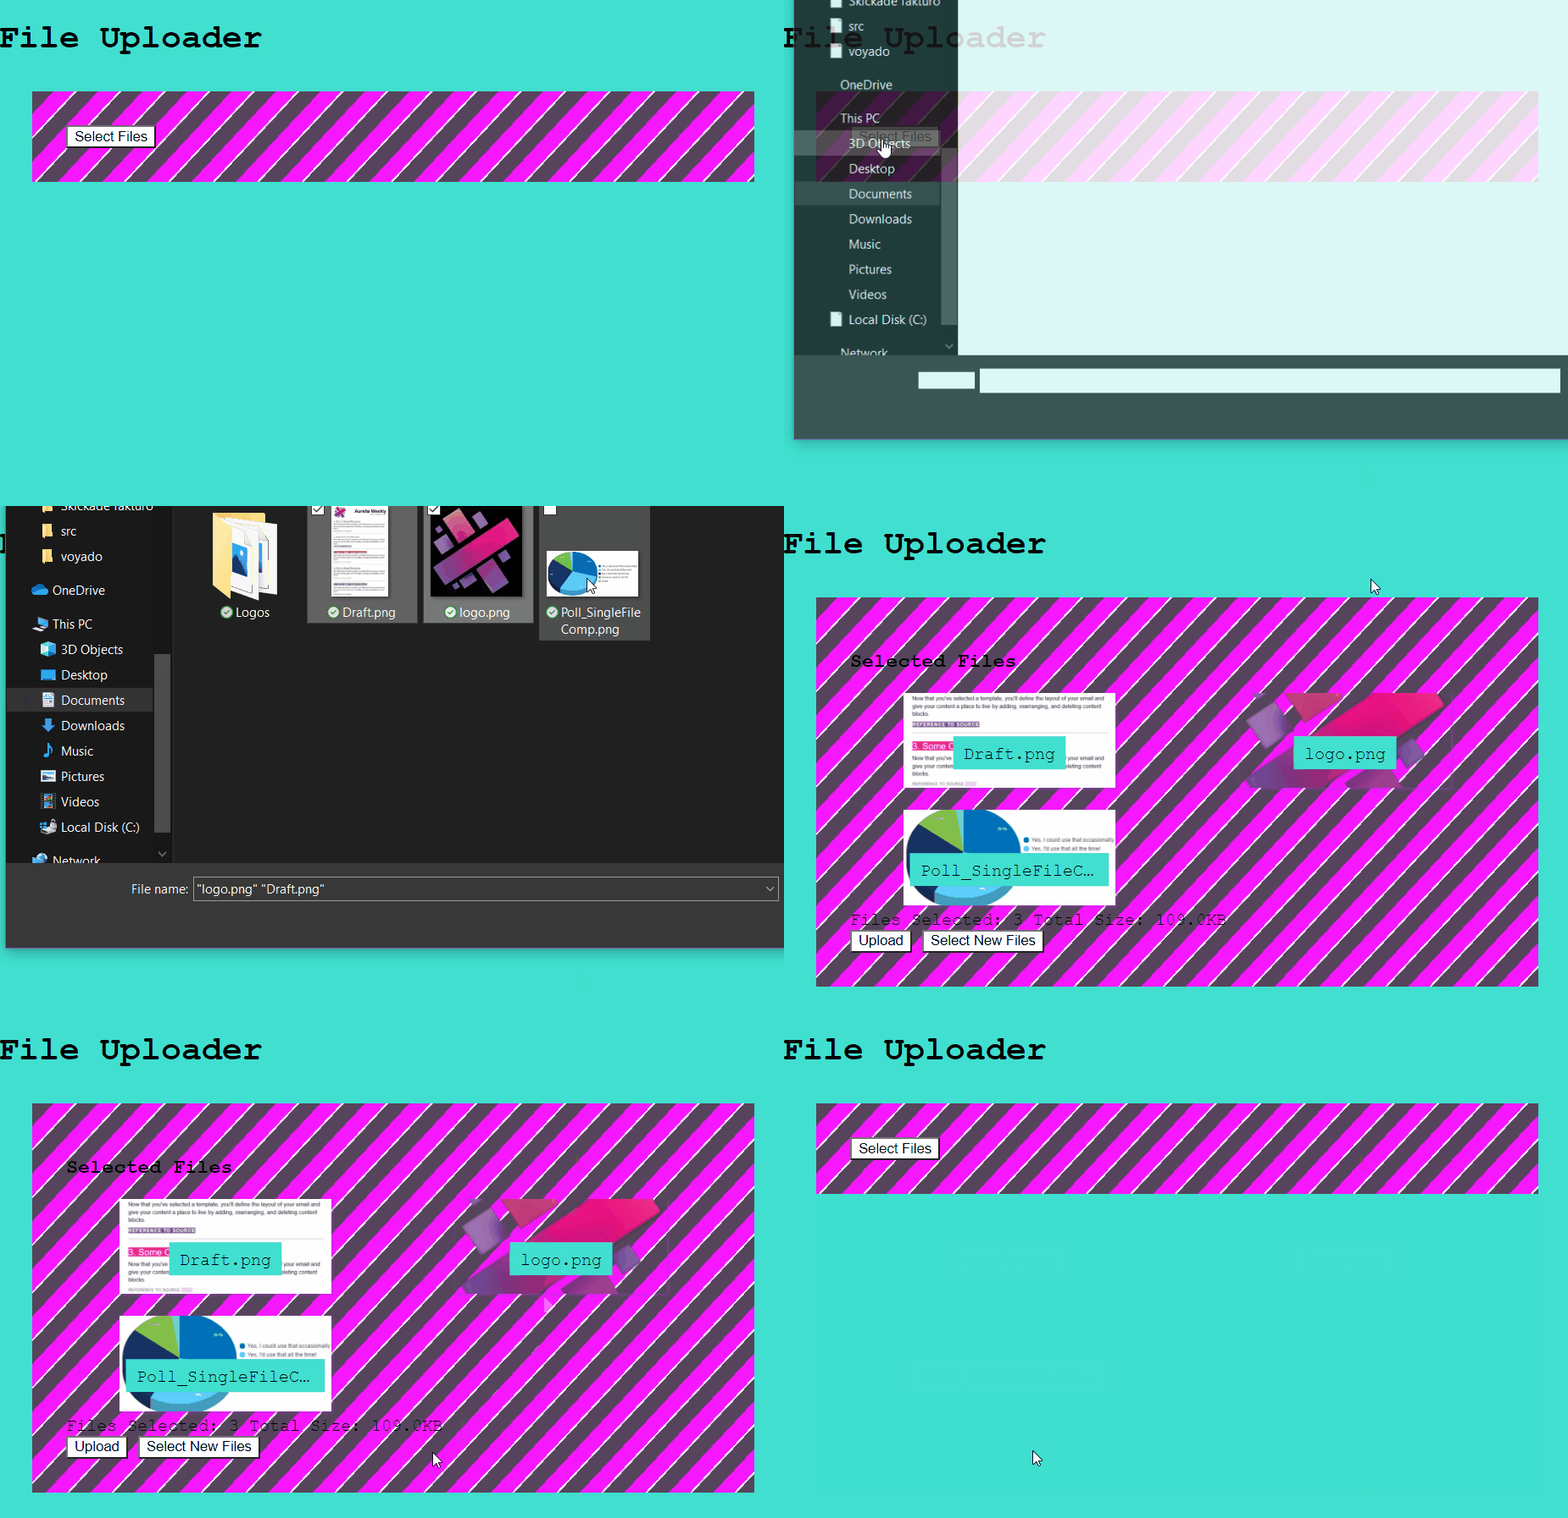
Writing your own file uploader is great! It means you have full control over your user scenario. You own the UX, and you don’t have to pull in large clunky third party packages that slow down your site and might introduce security issues down the road!
I was looking at some code for some pure JS implementations and thought that it’s so much smoother in Aurelia 💖

🧱 Create the Project
Create the project using npx au2 new, then select to use TypeScript and plain CSS. For a more detailed description of setting up new Aurelia 2 projects check the post A Productive Aurelia 2 Build Setup.
⚙️ Create the Component
First off we need to create the component. With Aurelia’s conventions it’s as easy as creating a template file (html), a view model file (typescript) and a file for the styling (css). Let’s name the component file-uploader and create
file-uploader.tsfile-uploader.htmlfile-uploader.css
To enable global access to my components, I gather them all in a component registry file and then import that into the DI container when the app starts upp. so I create a conponentRegistry.ts file as well, and import that in main.ts.
📁 componentRegistry.ts
export * from "./image-uploader/image-uploader";
📁 main.ts
import Aurelia from "aurelia";

import { MyApp } from "./my-app";
import * as componentRegistry from "./componentRegistry";

Aurelia.register(componentRegistry).app(MyApp).start();
If you use VS Code and would like to automate component creation (TypeScript, HTML and CSS-files), check out the post
👉 Using VS Code Tasks to Create Template Files 👈
💠 Creating the Template
The workhorse of the component is the <input> element. You can configure this to accept a variety of file types, we’ll select images for this example.
Then we create a part that will show the thumbnails for any selected files, together with some stats about the files.
The full template looks like follows, image-uploader.html 👇
<div class="image-uploader">
  <input
    ref="fileInput"
    class="fileInput"
    type="file"
    name="file"
    multiple
    accept="image/*"
    style="display: none"
  />

  <div class="upload">
    <div if.bind="selectedFiles.length>0">
      <h3>Selected Files</h3>

      <div class="thumbnail-grid">
        <div class="img-container" repeat.for="file of selectedFiles">
          <img src.bind="file.url" title.bind="file.size" />
          <div class="label">
            <span class="file-name">${file.name}</span>
          </div>
        </div>
      </div>

      <div>
        Files Selected: <span>${fileCount}</span> Total Size: <span>${returnFileSize(totalSize)}</span>
      </div>
    </div>

    <div>
      <span if.bind="fileCount === 0">
        <button click.delegate="openFilePicker()">Select Files</button>
      </span>
      <span if.bind="fileCount > 0">
        <button click.delegate="upload()">Upload</button>
      </span>
      <span if.bind="fileCount > 0">
        <button click.delegate="openFilePicker()">Select New Files</button>
      </span>
    </div>
  </div>
</div>
As for the <input> element we are allowing several files to be selected bu adding the multiple argument. For allowing us easy access from the view model we’re using a ref tag. The ref tag will help bind the element to the view-model, as we’ll see later in the TypeScript file.
The thumbnail grid has a div with a repeat.for construct. This is the Aurelia of repeating template code for all elements of a collection. In our case we are repeating over all selected images and displaying a “thumbnail” for each.
At the end we are setting up the controlling buttons using some conditional templates with the if.bind="expression" construct. This will remove the block from the DOM if the expression is false.
👩💻 Creating the View-Model
The full view-model looks like follows, image-uploader.ts 👇
export class ImageUploader {
public fileInput: HTMLInputElement;
public fileCount = 0;
public totalSize = 0;
public selectedFiles: Array<Record<string, unknown>> = [];
public afterBind(): void {
// bind to change event on the file input
this.fileInput.addEventListener("change", () => this.fileSelectionChanged());
}
public openFilePicker(): void {
this.clearSelection();
// file input is hidden because of styling, open it with click()
this.fileInput.click();
}
public async upload(): Promise<void> {
// put the selected files in FormData
const formData = new FormData();
for (let i = 0; i < this.fileInput.files.length; i++) {
const element = this.fileInput.files[i];
formData.append("file", element);
}
// send formData 👇 over the wire here
console.log("data to send:");
console.log(formData);
}
public fileSelectionChanged(): void {
this.populateUI(this.fileInput);
}
public returnFileSize(number: number): string {
// shamelessly borrowed from MDN 💖🙇♂️
if (number < 1024) {
return number + "bytes";
} else if (number >= 1024 && number < 1048576) {
return (number / 1024).toFixed(1) + "KB";
} else if (number >= 1048576) {
return (number / 1048576).toFixed(1) + "MB";
}
}
private populateUI(fileInput: HTMLInputElement): void {
for (let i = 0; i < fileInput.files.length; i++) {
this.fileCount += 1;
this.totalSize += fileInput.files[i].size;
this.selectedFiles.push({
file: fileInput.files[i],
name: fileInput.files[i].name,
size: this.returnFileSize(fileInput.files[i].size),
url: URL.createObjectURL(fileInput.files[i]),
});
}
}
private clearSelection(): void {
this.fileInput.value = "";
// clear any previously selected files
this.fileCount = 0;
this.totalSize = 0;
this.selectedFiles = [];
}
}
In the afterBind method we add an eventhandler to the input element. The "change" this is what will be triggered when files are selected and what we will need to react too. There you can also see how easy Aurelia makes it to get a handle to the input element, since we added a ref attribute on it we just declare the element in the property on the view-model and can then access it as sound as the element is bound to the DOM.
Since the input element for file selection is notoriously hard to style, I’ve opted to hide it using style="display: none", and opening by calling click on it from a regular button. As can be seen in the openFilePicker method.

To actually upload the file and save it, you need a server and actually implementing the send part. I left that out in the post as I wanted to focus on the front end bits.
However, in one of my projects I used Azure Functions to receive files and then saved them in Blob Storage, which is really clean (and super cheap) cloud solution.
If there is interest, I can make a part two of this article and implement a server project too? Let me know in the comments below if you are interested in seeing a post about the Azure Functions server part!
🔮 Conclusion
The strong templating features of Aurelia makes it so easy to control your custom element layouts. With the ability to conditionally toggle parts of the template, we save large amounts of TypeScript/JavaScript code from ever being written!
Aurelia 2 is stepping up the templating game further compared to v1, I’ll be sure to write a post about the new features as soon as alpha is released 😁
🔗 Resources
The code for this small project can be found on my GitHub page
Setting up an Aurelia 2 project
Read more about Aurelia 2 on the docs site
Running Aurelia 2 apps in Azure like a boss
Happy Coding! 😊

HEy this is really cool. Thanks for doing it. Did you ever make the part 2?
Thanks! Nope, not yet, but I’ll get on it 🙂